How to Take Better Food Photos with Just Natural Light (No Fancy Gear Needed)
If you’ve ever tried to photograph food, you know it’s not as easy as it looks. Harsh shadows, weird colors, and dull-looking plates can ruin even the best dishes.
The good news? You don’t need a full studio setup to capture beautiful, mouth-watering food photos.
With just natural light and a few simple tricks, you can seriously level up your shots.
Here’s how.
📍 1. Find the Right Light Source
Natural window light is your best friend. Ideally, you want light that’s soft and diffused—not direct sunlight.
Look for windows that face north or east, where the light tends to stay more even throughout the day.
Pro Tip:
If the light is too harsh, tape a thin white curtain, bedsheet, or even wax paper over the window to soften it.
Shooting near a big window but not in the direct path of sunbeams gives you the best glow.
🎯 2. Position Your Food Strategically
Lighting direction matters.
Here’s a quick cheat sheet:
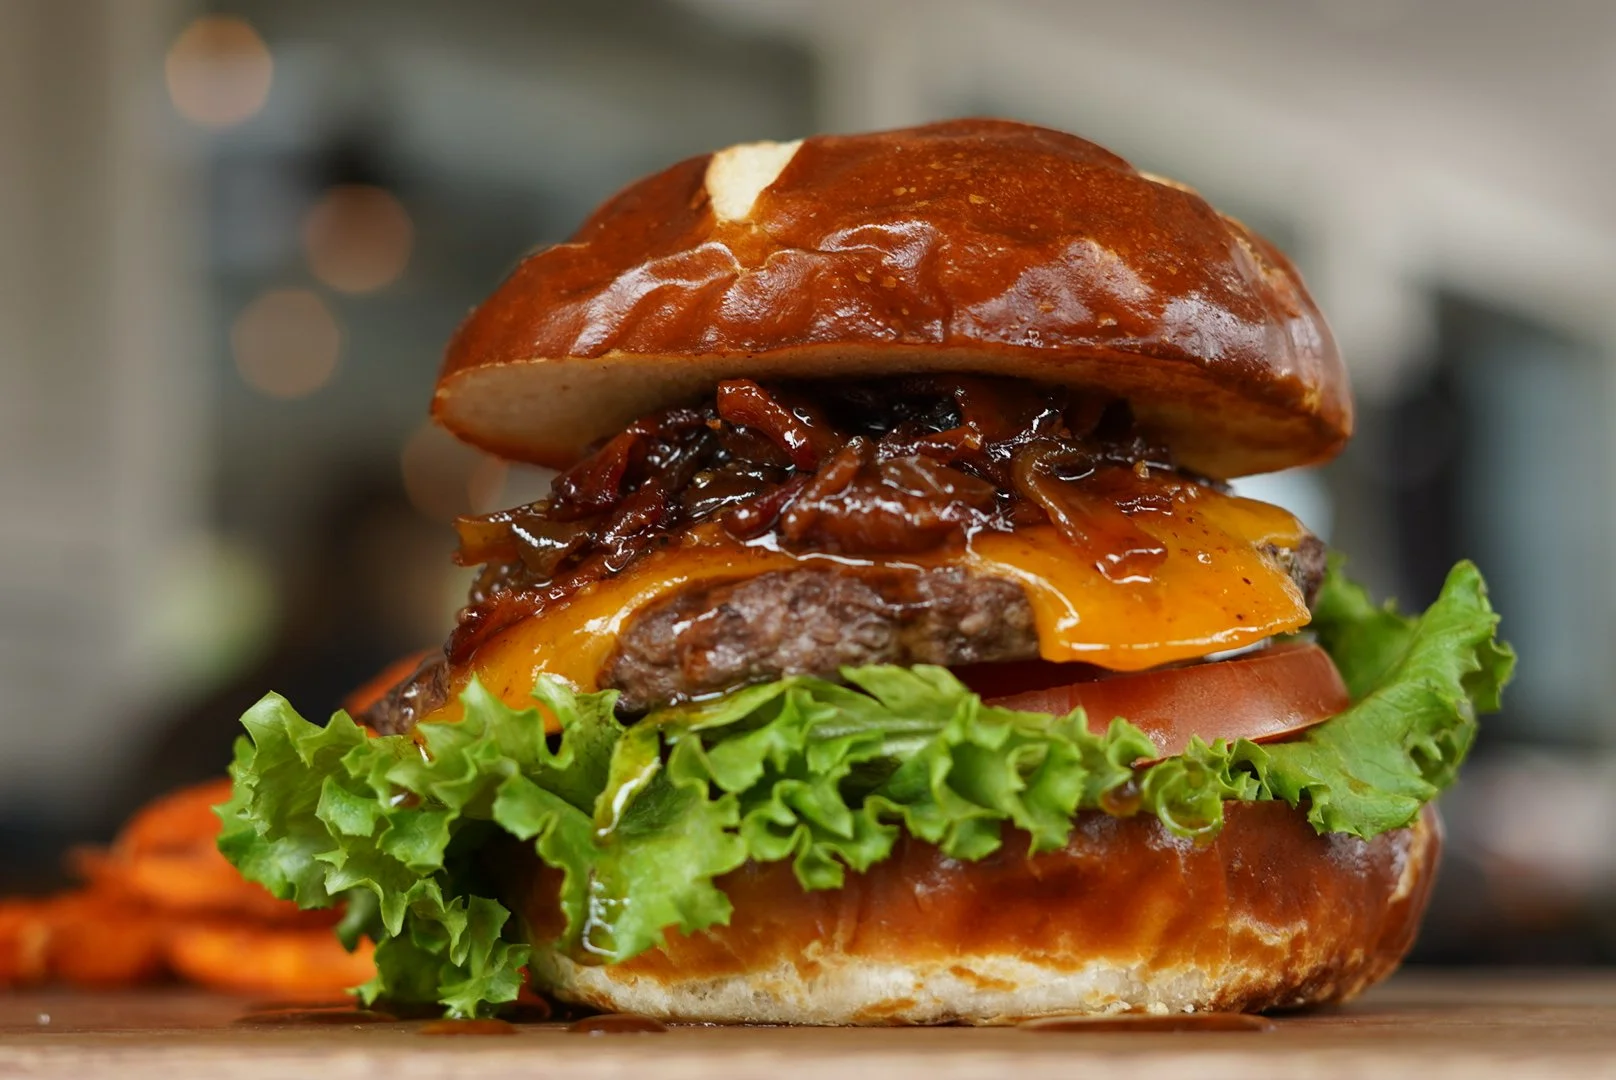
Side Lighting (light coming from the side) = adds depth and texture (great for anything with layers or height like burgers or pasta).
Back Lighting (light behind the food) = makes drinks and salads look fresh and glowy.
Front Lighting (light coming from behind you) = flattens textures (usually less desirable for food).
Move your plate around a little and watch how the highlights and shadows change—then pick the angle that makes the dish look most delicious
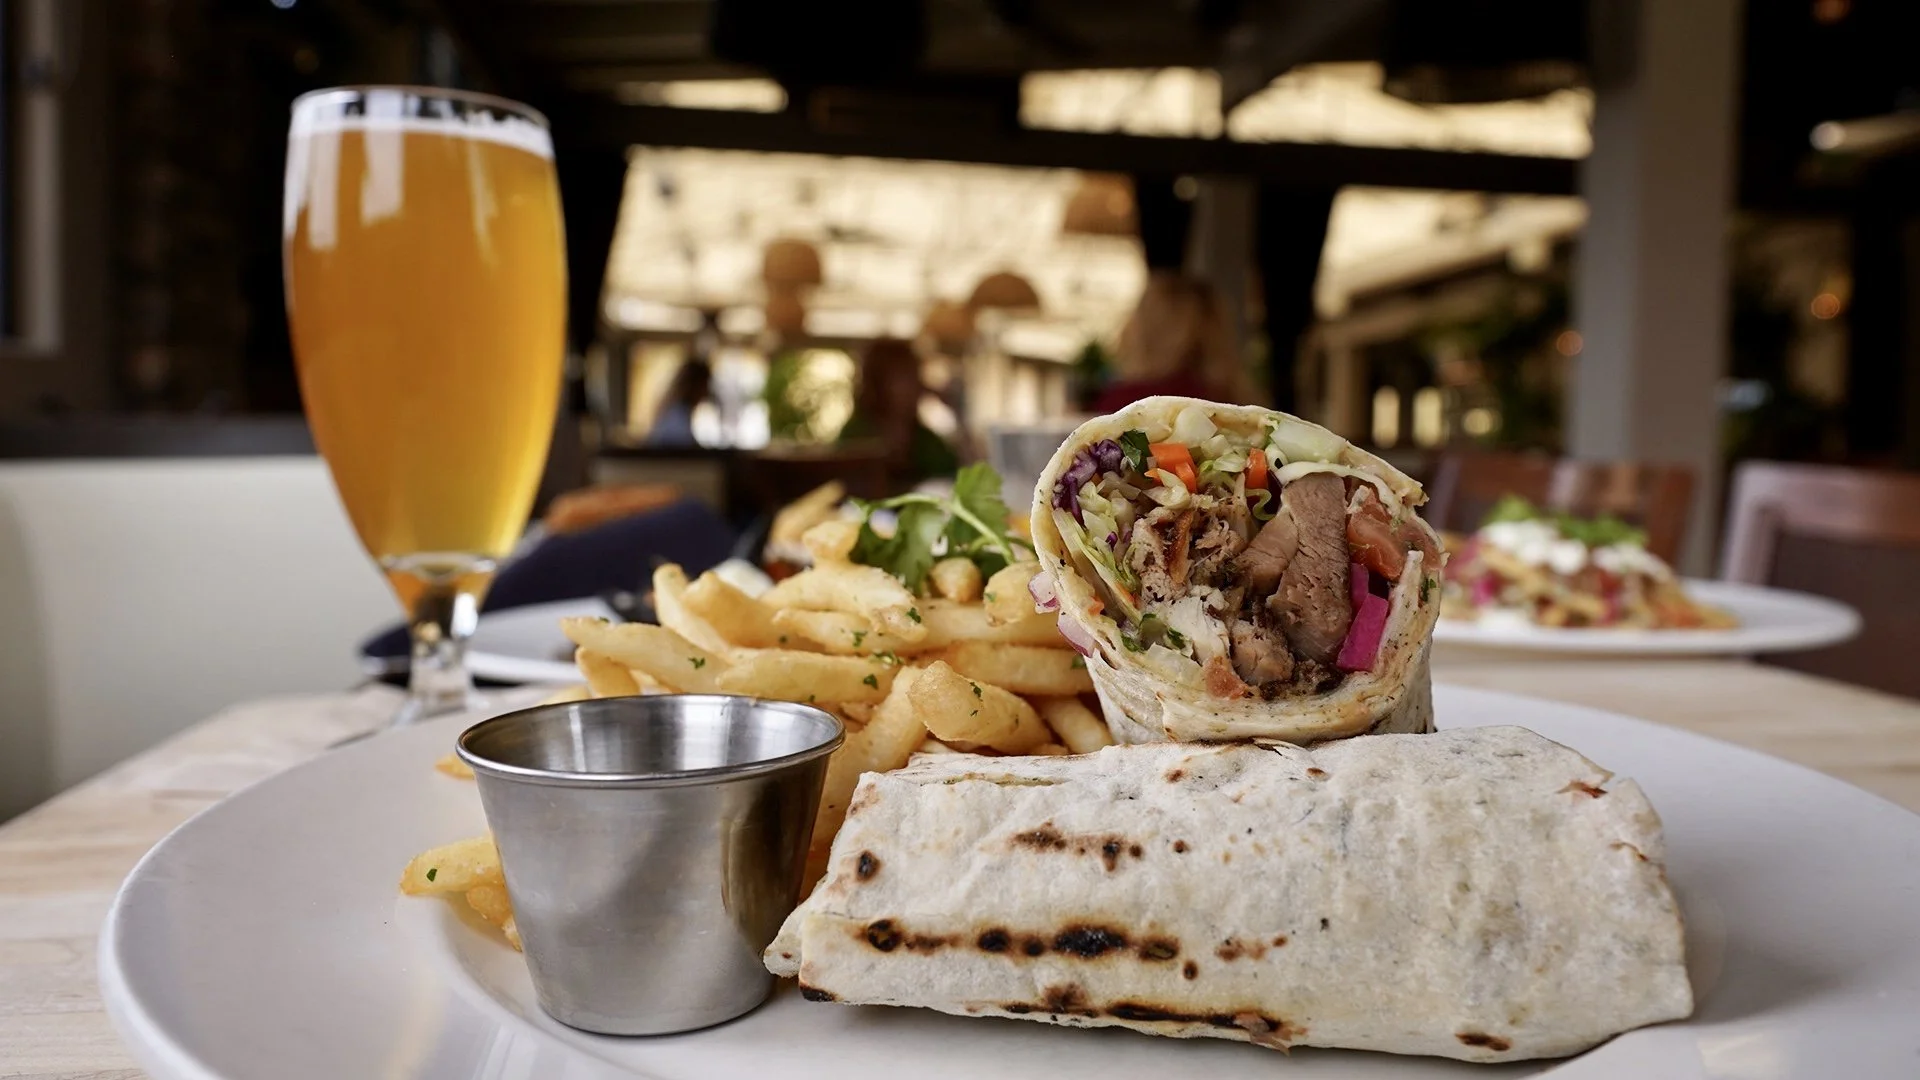
This shot shows the restaurant, a glass of beer, a side dish, fries and a steak wrap. The wrap is in focus so the guest knows what’s important
🧠 3. Use Simple Reflectors
If one side of the food looks too dark, don’t panic.
You don’t need fancy lighting gear—a white foam board, poster board, or even a piece of tin foil can bounce light back onto the shadows.
DIY reflectors help balance the shot without losing all the natural vibe.
✏️ 4. Pay Attention to the Background
The food should be the star—your background should not be a distraction.
If the restaurant table or surface isn’t great, bring a portable backdrop (a wooden board, a neutral fabric, a marble tile, etc.).
Keep it simple, clean, and complimentary to the dish.
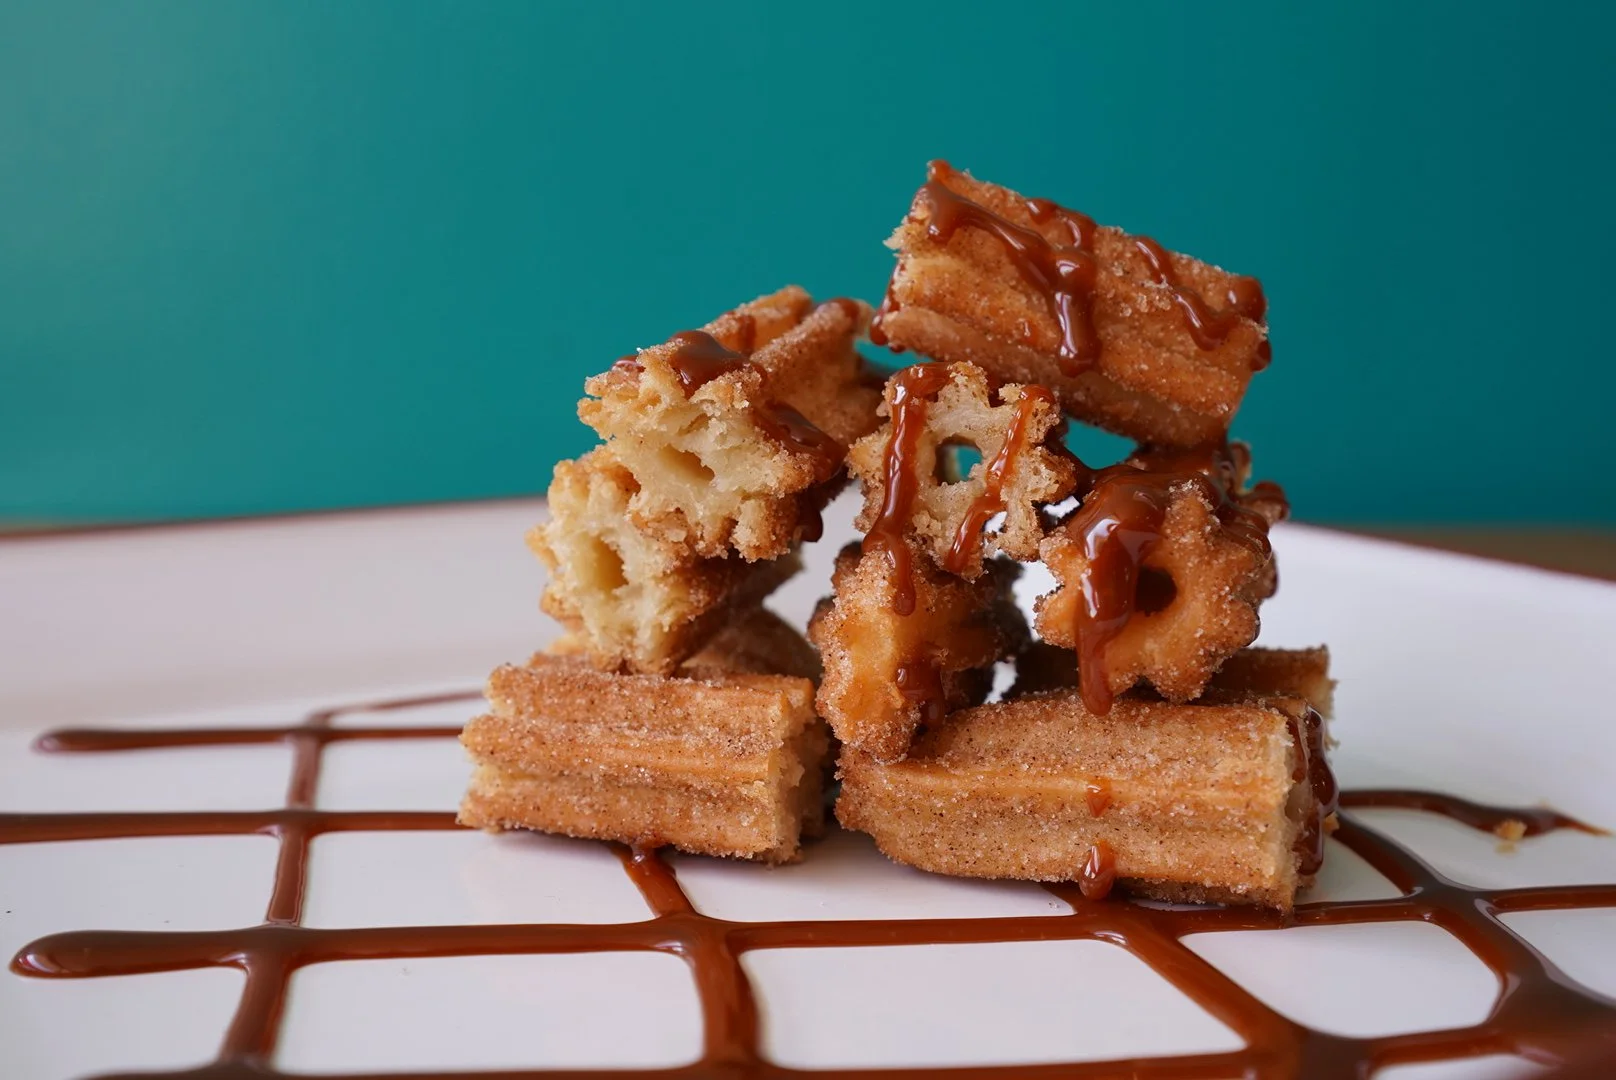
For this churro shot I used the background of the restaurant. I loved the color and decided to implement with the churros.
🧼 5. Prep for the Mess
Food photography isn’t always neat. Sauces drip, garnishes fall, and plates smudge.
Pack a little kit with:
Wet wipes
Paper towels
Small brushes or Q-tips for cleanup
This will save you tons of editing headaches later.
⚡ Quick Gear List for Natural Light Food Photography:
Camera or smartphone with manual controls
Tripod (optional but helpful)
White foam board (DIY reflector)
Portable backdrop
Cleaning supplies (wet wipes, towel)
That’s it. No big lights. No complicated setups.


🥡 Final Thoughts
The secret to great food photography isn’t expensive gear—it’s learning to see light, stay flexible, and prepare for anything.
Mastering natural light not only saves you money, but also gives your images an organic, authentic feel that resonates with viewers.
Next time you’re shooting a dish—whether it’s for a client or your own project—slow down, find your light, and trust the process.
👉 Need a pro to capture your restaurant's menu or food brand in the best light?